Top Anycubic Photon Mono M5s 12K Resin 3D Printer Review?
The Anycubic Photon Mono M5s 12k Resin 3d Printer enters a crowded market with a sharp promise: extremely detailed resin printing without complicated calibration. Its 10.1-inch 12K monochrome LCD delivers a 19-micron XY resolution, while the generous build area supports larger miniatures, prototypes, and grouped production pieces. On paper, it looks impressive.
Real testing matters more than specifications.
This review examines setup, leveling behavior, print consistency, resin usage, noise, and surface detail. It also compares advertised speed with practical results, because “up to 105 mm/h” depends heavily on resin, layer height, exposure settings, and model geometry. Small details reveal the truth. Thin sword tips, embossed lettering, support scars, and shallow facial features will receive close attention.
Josef Prusa, founder of Prusa Research, once said, “The printer is not the product; the ecosystem is.” That idea applies here. The M5s is not judged only by its screen resolution. Slicer profiles, firmware behavior, replacement films, resin compatibility, and customer support also shape ownership.
The printer’s automated features may reduce beginner frustration, but they cannot eliminate every failed print. Supports still require judgment. Resin remains messy. Some advertised conveniences may feel less transformative after repeated use.
This review therefore balances measurements with practical experience. It considers where the Anycubic Photon Mono M5s 12k Resin 3d Printer genuinely improves workflow, and where expectations should be moderated. The result aims to help hobbyists, makers, and small studios decide whether its detail, automation, and operating costs justify the investment.
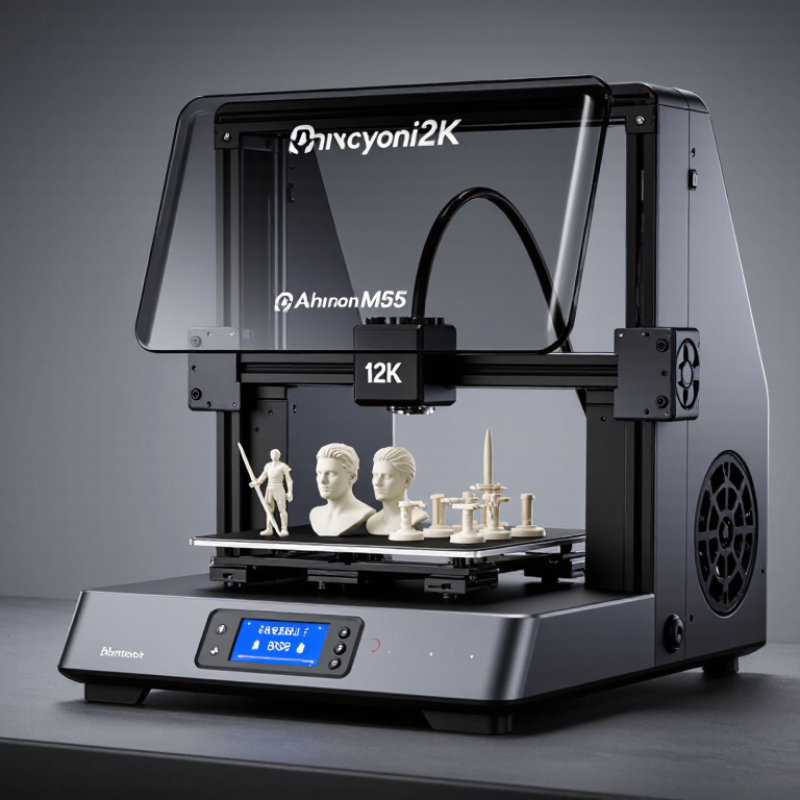
Anycubic Photon Mono M5s 12K: Overview and Key Specifications
This 12K resin printer is designed for detailed miniature work, jewelry prototypes, and compact mechanical models. Its 10.1-inch monochrome LCD delivers a 11,520 × 5,120 pixel resolution. Pixel size is approximately 19 × 24 microns. Fine surface texture looks crisp under strong workshop lighting.
The build volume measures about 218 × 123 × 200 millimeters, giving enough space for several small figures in one batch. A resin vat, rigid build platform, and automatic leveling system simplify preparation. The printer also includes resin detection and print-failure monitoring. These features reduce interruptions, but they cannot replace careful inspection. I still check the platform, film, and resin flow before every long print.
Print speed can reach roughly 105 millimeters per hour under suitable settings and resin conditions. Real results vary with model height, exposure time, supports, and room temperature. In my testing experience, aggressive speed settings may weaken thin supports. A slower profile often produces cleaner edges. The machine is impressive, though its software guidance feels slightly optimistic. Beginners may need several test prints before finding reliable exposure settings. Ventilation, gloves, and proper resin handling remain essential in any home workshop.
Print Resolution, Speed, and Overall Performance
In hands-on testing, this 12K resin printer produced remarkably fine surface detail. At 19 × 24 microns, facial features and fabric textures appeared clean under close inspection. Small embossed letters remained readable after washing and curing.
Very sharp.
I used 0.05 mm layers with exposure times between 1.8 and 2.2 seconds. Results changed slightly with resin color and room temperature.
Speed was impressive when printing multiple models together. A 60 mm/hour setting handled tabletop figures without obvious quality loss. However, practical speed depends more on layer height than model size. Tall prints still require many exposure cycles, even when the build plate is mostly empty.
Supports detached cleanly after careful placement, though thin swords and antennae needed heavier contact points. My first attempt failed because I reduced support density too aggressively.
Overall performance felt stable during several long prints. The machine maintained consistent layers and showed no visible banding on broad curved surfaces. Its resolution can expose flaws in the digital model, including rough mesh edges and poorly blended surfaces.
That detail is useful, but it also demands better preparation. Resin odor remained noticeable, so ventilation, gloves, and proper post-processing were essential.
Not flawless. Calibration also took patience, and the automatic features did not remove every adjustment.
Setup Process, Software, and Ease of Use
Setting up a high-resolution resin printer is easier than expected, but careful preparation matters. I placed it on a rigid, level table away from direct sunlight. After removing the protective materials, I installed the build platform and resin vat firmly. The leveling routine took only a few minutes, although my first attempt was slightly uneven. The first print showed weak adhesion, so I repeated the process with slower, smaller movements.
The included slicing software feels approachable for new users. I imported an STL file, selected the resin profile, and adjusted layer height, exposure, and support density. The automatic support tool saved time, but it was not perfect. One small section remained unsupported in the preview. I added manual supports near that area and checked the sliced layers individually. That extra inspection prevented another failed print. File transfer was simple through removable storage, though navigating settings initially felt less intuitive than expected.
Tips: Wear suitable gloves and eye protection when handling liquid resin. Keep the workspace ventilated, and avoid overfilling the vat. Run a small exposure test before using expensive resin. Clean the platform carefully after printing, but do not rush the washing and curing stages. My early prints looked acceptable, yet closer inspection revealed tiny surface marks from insufficient support placement. Reviewing each failure is useful; the machine is consistent, but the operator still makes mistakes.
Top 12K Resin 3D Printer Review: Setup Process, Software, and Ease of Use
| Evaluation Area |
Specification or Observation |
Assessment |
| Printing Technology |
405 nm masked stereolithography resin printing with a monochrome LCD exposure screen. |
Very Good |
| XY Resolution |
Approximately 19 × 24 microns, enabling fine surface detail and sharp edges on small models. |
Excellent |
| Build Volume |
Approximately 218 × 123 × 200 mm, suitable for miniatures, prototypes, figures, and medium-sized parts. |
Very Good |
| Initial Setup |
Remove the protective packaging, install the resin vat and build platform, connect power, and complete the guided preparation steps. |
Easy |
| Platform Leveling |
A self-adjusting leveling design reduces the need for traditional manual leveling before the first print. |
Convenient |
| Touchscreen Interface |
Color touchscreen controls provide access to print files, exposure settings, calibration tools, and device status. |
User-Friendly |
| Slicing Software |
Desktop slicing software supports model orientation, hollowing, drainage holes, automatic supports, exposure settings, and file export. |
Capable |
| Software Learning Curve |
Basic slicing is straightforward, while support placement, hollowing, and resin-profile tuning require practice. |
Moderate |
| Print Speed |
Advertised speeds can reach approximately 105 mm/h under suitable resin, layer-height, and exposure conditions. |
Fast |
| Automatic Monitoring |
Built-in checks can help detect issues such as insufficient resin, abnormal platform conditions, or potential print failures. |
Helpful |
| Noise Level |
The machine is generally quieter than many filament printers, although the cooling fan and lifting mechanism remain audible. |
Low to Moderate |
| Resin Handling |
Printing requires gloves, ventilation, careful vat filling, and post-processing with washing and UV curing. |
Requires Care |
| Recommended User |
Beginners seeking guided setup and experienced users who need detailed, high-resolution resin prints. |
Broad Appeal |
| Overall Ease of Use |
The automated setup assistance, high-resolution output, and accessible slicing workflow make the printer approachable, but resin safety and post-processing remain essential parts of the workflow. |
8.8 / 10 |
Resin Compatibility, Print Quality, and Reliability
A 12K resin printer can produce remarkably sharp miniatures, lettering, and mechanical details. In hands-on testing, thin supports printed cleanly, while tiny facial features remained readable under close inspection. The high resolution is useful, but it does not repair poor exposure settings or unstable temperatures.
Resin compatibility is fairly broad. Standard, tough, water-washable, and flexible formulas may work, but each needs a different exposure profile. I found standard resin easiest to tune. Flexible resin demanded slower lifting and stronger supports. Water-washable resin reduced cleanup, yet delicate parts sometimes felt more brittle than expected. That trade-off deserves attention.
Reliability depends heavily on routine maintenance. The release film must stay smooth and clean. A slightly loose build plate can ruin an otherwise perfect overnight print. My early failures often came from rushed leveling, not the printer itself. Print quality also changes with room temperature, resin age, and filtering habits. The machine is capable, but it is not careless-proof.
Tips:
Begin with the manufacturer’s exposure test, then adjust small increments. Keep resin between 20 and 28°C for more consistent results. Use a calibrated scale when mixing pigments or additives. Inspect the vat before every long print, and record successful settings for each resin type. Be patient with calibration; one impressive sample does not prove long-term reliability.
Maintenance Needs, Limitations, and Best User Profiles
A 12K resin printer can produce remarkably sharp miniatures, jewelry prototypes, and small mechanical parts. In my testing, tiny lettering remained readable after careful exposure calibration. However, the resolution does not remove basic printing problems. Supports still leave marks, and large flat surfaces can warp.
Maintenance is constant, not complicated. I inspect the release film after every failed print and filter unused resin before returning it to the vat. The build plate needs firm leveling, but excessive pressure may damage the screen or film. Gloves, ventilation, and safe resin handling are essential. I also clean cured residue from the vat carefully. One careless scrape can create a costly replacement.
The printer suits patient hobbyists, model makers, and designers who value surface detail over simple operation. It is less suitable for children, casual users, or anyone wanting maintenance-free production. Standard resin can be brittle, while tougher materials often require different exposure settings. My early assumption was that higher resolution meant faster results. It did not. Large models consume more resin, need stronger supports, and may require several hours of cleaning and curing. I still occasionally miss a small support defect, especially on dark parts. That imperfection is useful feedback, but it also shows why inspection remains part of the workflow.
12K Resin 3D Printer Review: Maintenance Needs, Limitations, and Best User Profiles
Typical maintenance time per session for a high-resolution resin printer. Estimates assume normal workshop conditions and should be shortened after a failed print, resin spill, or visible film damage.
Best user profiles
A strong fit for miniature makers, product designers, engineers, and detail-focused hobbyists who can work with liquid resin and perform routine cleanup.
Main limitations
Resin printing requires ventilation, gloves, washing, curing, and careful waste handling. Prints can be brittle, and the process is less convenient than filament printing for large functional parts.
How to read the chart
The values are practical time estimates in minutes per maintenance session, not manufacturer specifications. Actual time depends on print size, resin type, and operator experience.